

Printing with Affinity

Affinity Publisher is a brilliant choice for creating sharp, professional artwork, whether for digital or print. But, as with all print jobs, there are a few things worth knowing to make sure what you see on your screen is exactly what you get on paper. Similar export options can be applied to other products in the Affinity suite of applications.
Step 1
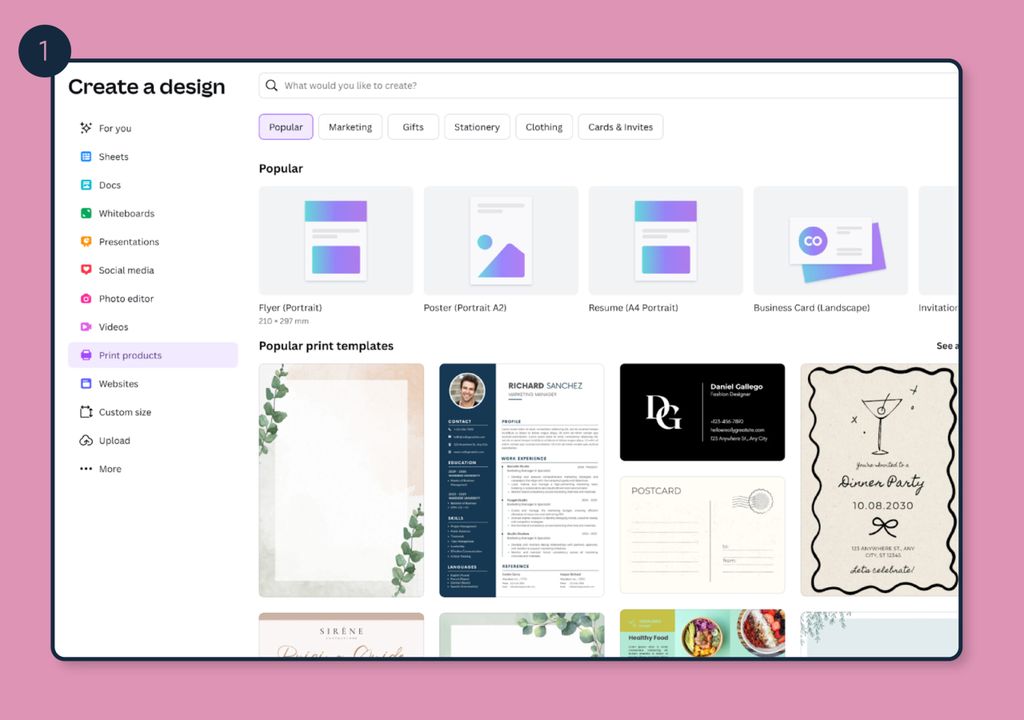
First things first: open Affinity Publisher and go to File > New. This is where you choose the page size you want to work at (A4, A5, custom sizes). Make sure you also set up bleed here – usually 3 mm all round is standard, but check with us if you’re not sure.
Why bother? Setting up the correct size and bleed at the start means you won’t need to fix anything (or pay for edits) later on. It’s the easiest way to avoid surprises.
Step 2
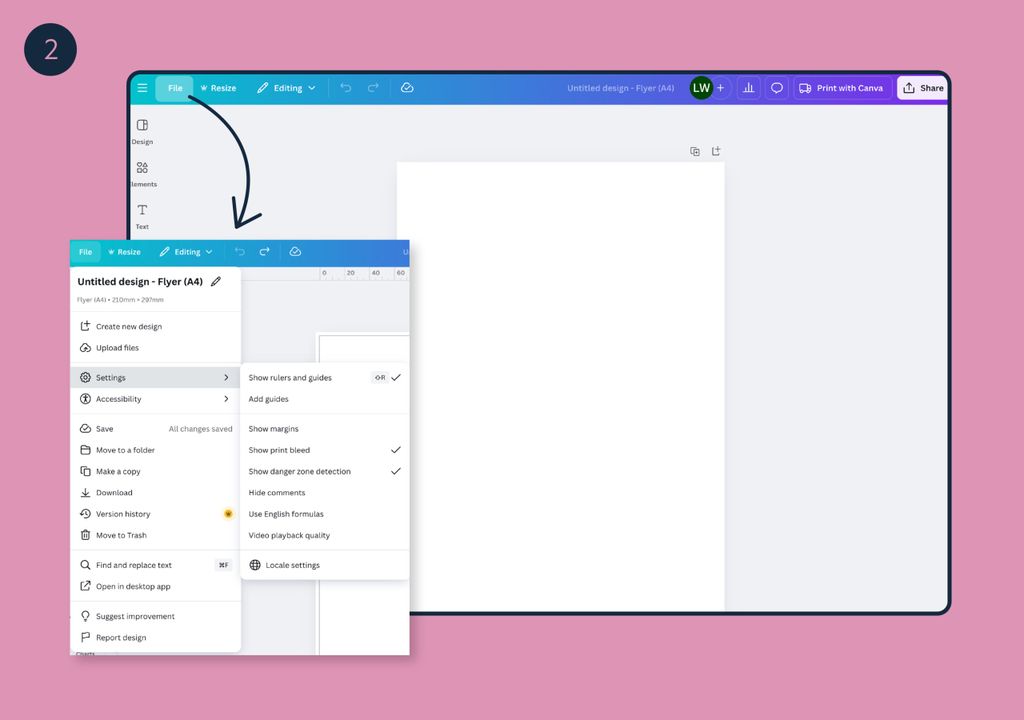
Once your document is open, you’ll see guides for bleed (if you turned them on). Bleed is that extra bit around the edges that gets trimmed off. If you want images or colour to run right to the edge of the finished print, make sure they extend beyond the bleed line.
Inside, keep your important text and logos safely within the margin guides. That way nothing essential gets cut off.
Think of bleed as a safety net: it ensures your design prints neatly and professionally even with tiny shifts in cutting.
Step 3
Now the fun part! Whether you’re starting from scratch or tweaking a template, InDesign is excellent for keeping everything lined up nicely and looking professional.
A few handy reminders:
- Use high-resolution images (300 dpi is standard for print).
- Stick with CMYK colour for print work to avoid surprises when you see the final piece.
- Use paragraph and character styles to keep your typography consistent.
Step 4
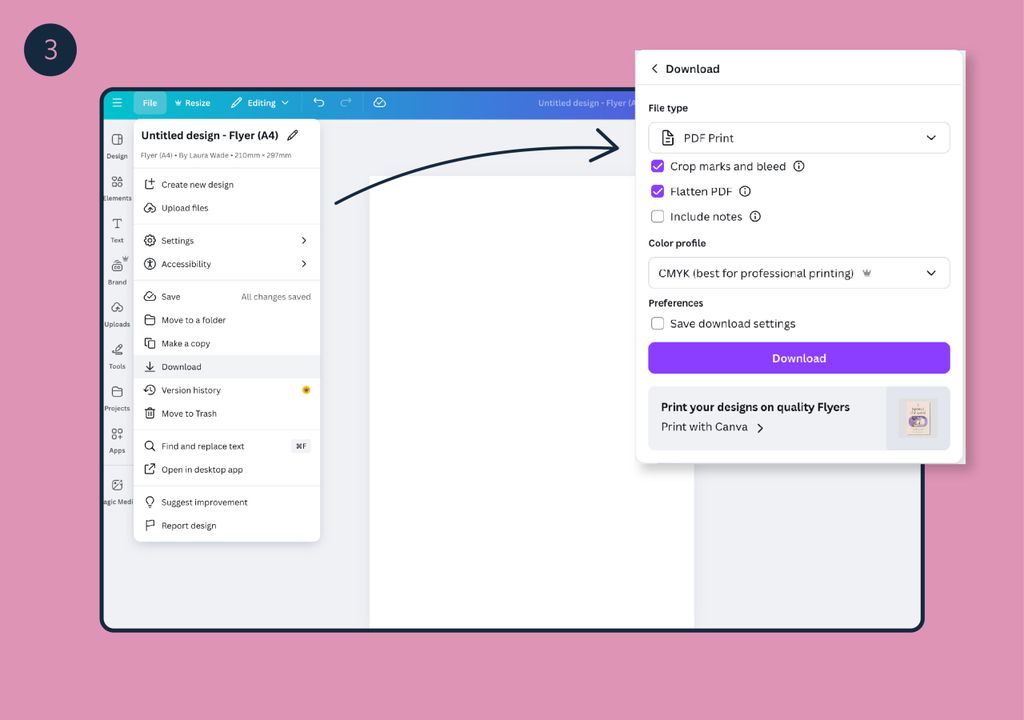
When you’re all done, it’s time to create a PDF ready for our presses.
Here’s how:
- Go to File > Export.
- Choose Adobe PDF (Print).
- Use the Press Quality preset – it’s designed for professional printing.
- Click on Marks and Bleeds.
- Tick Crop Marks.
- Make sure Use Document Bleed Settings is selected.
- Check the Output section to ensure your colour is set to CMYK.
Quick note on colour: Some bright RGB colours can shift a little when converted to CMYK. If colour accuracy is crucial, just ask us for a printed proof first. We’re always happy to help.
We hope you find this helpful. For other information on artwork setup please take a look at our Artwork Guidelines page.
Other reads you might find interesting . . .
-
Pantone Emulation with HP Indigo IndiChrome
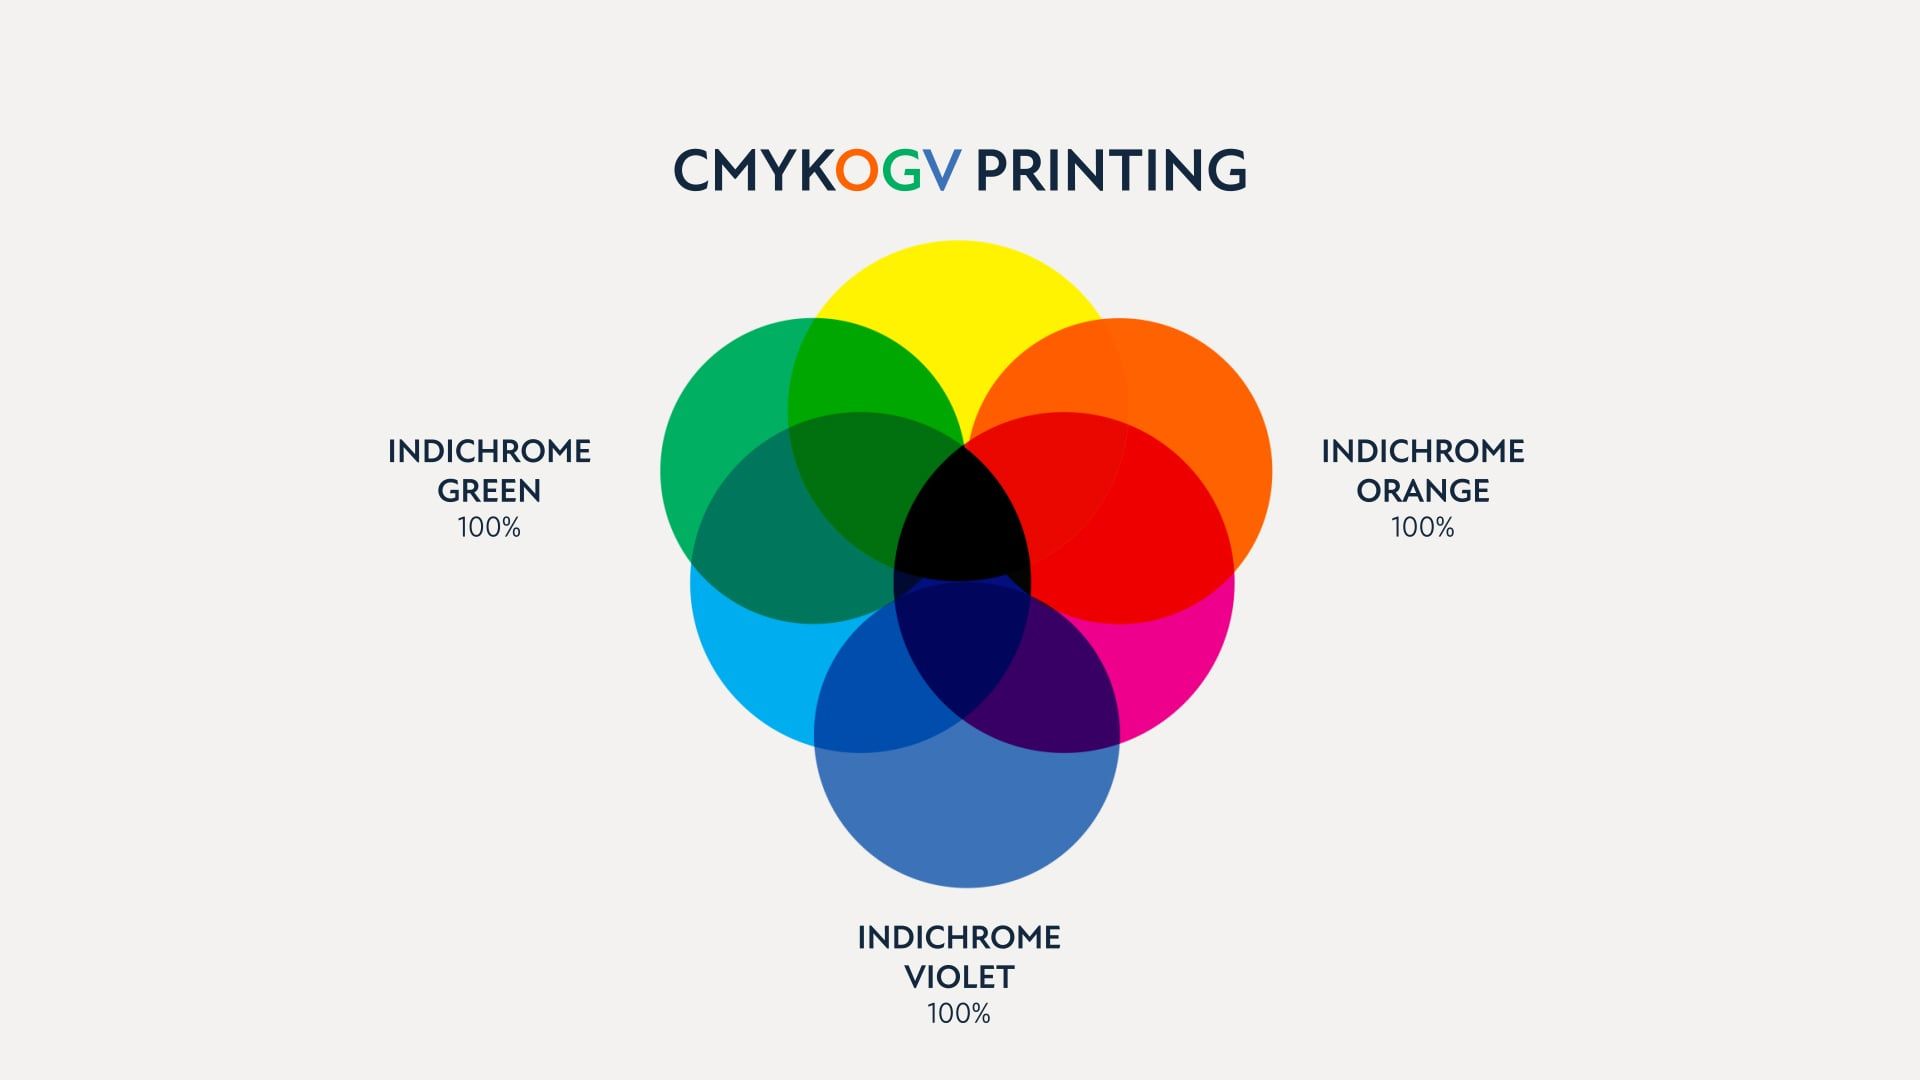
Pantone Emulation with HP Indigo IndiChrome Think of Cadbury and most probably you can visualise their distinctive purple brand colour (It is in fact pantone 2685C). The great thing about pantone colours is they are pure,
-
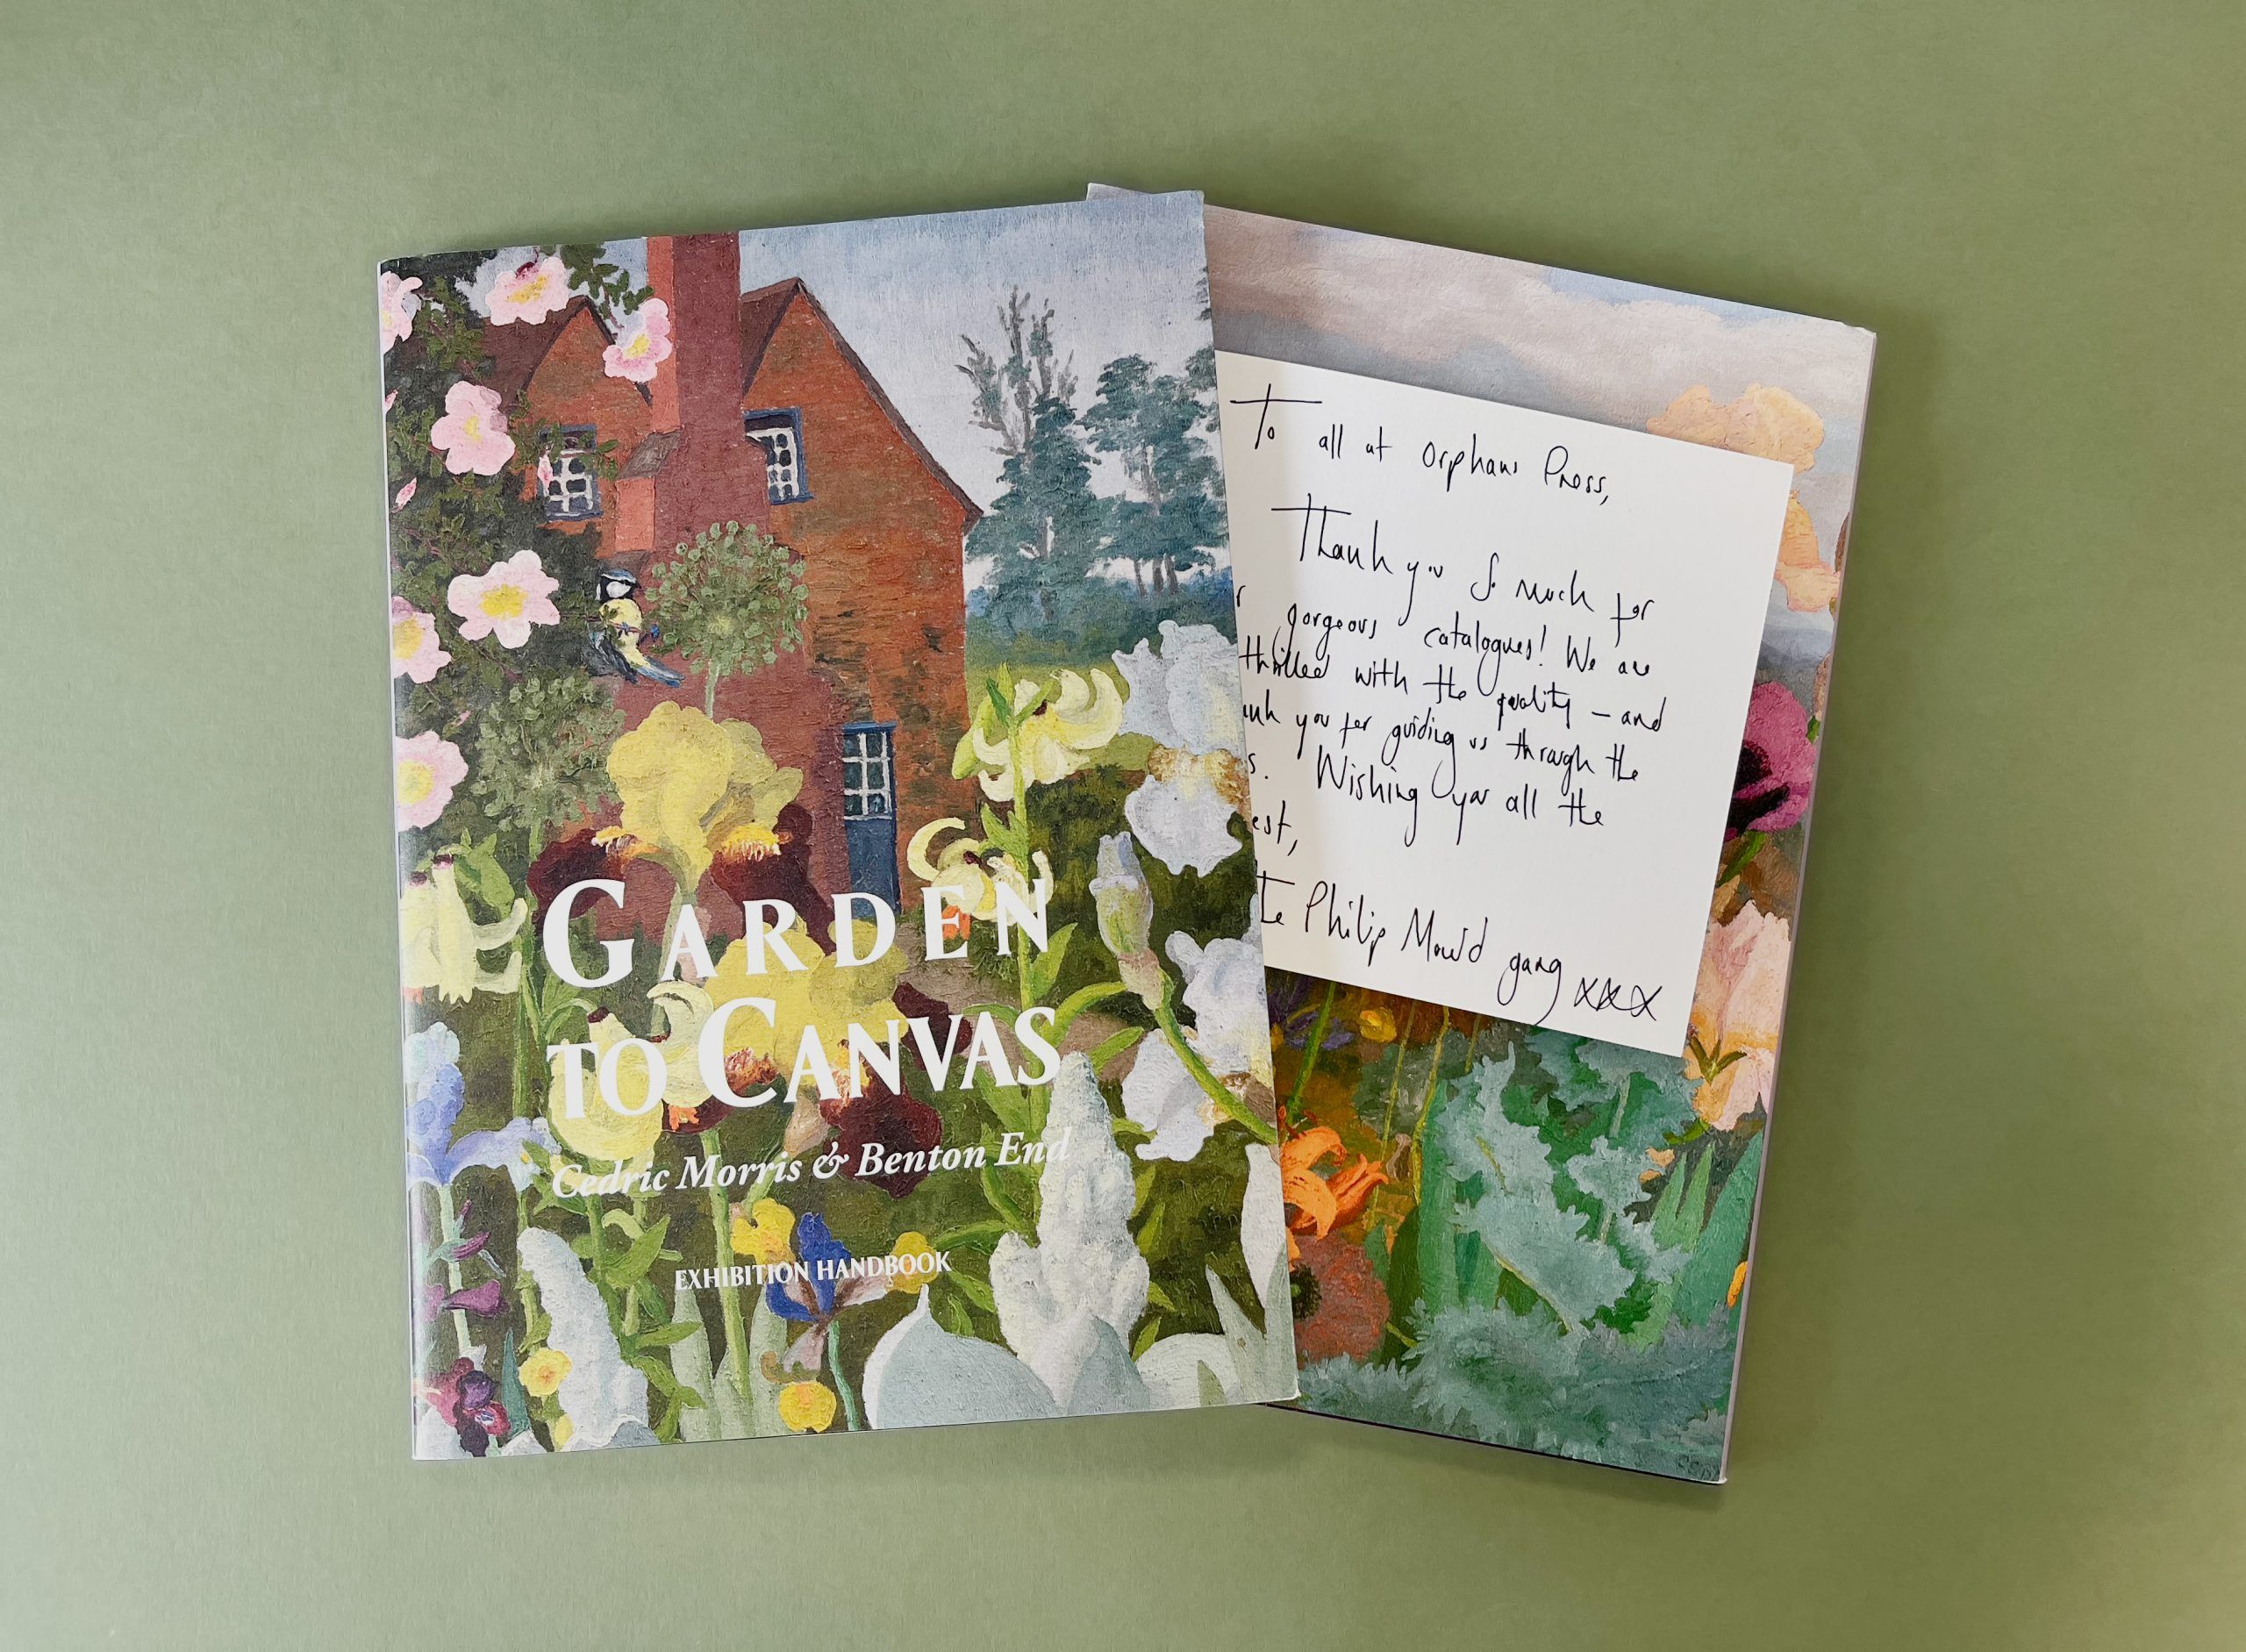
‘Just Beautiful’
In these days of customer reviews which look suspiciously familiar and automated, how nice is this! A beautifully handwritten note to thank our team for helping to produce a stunning catalogue for the Garden to Canvas:
-
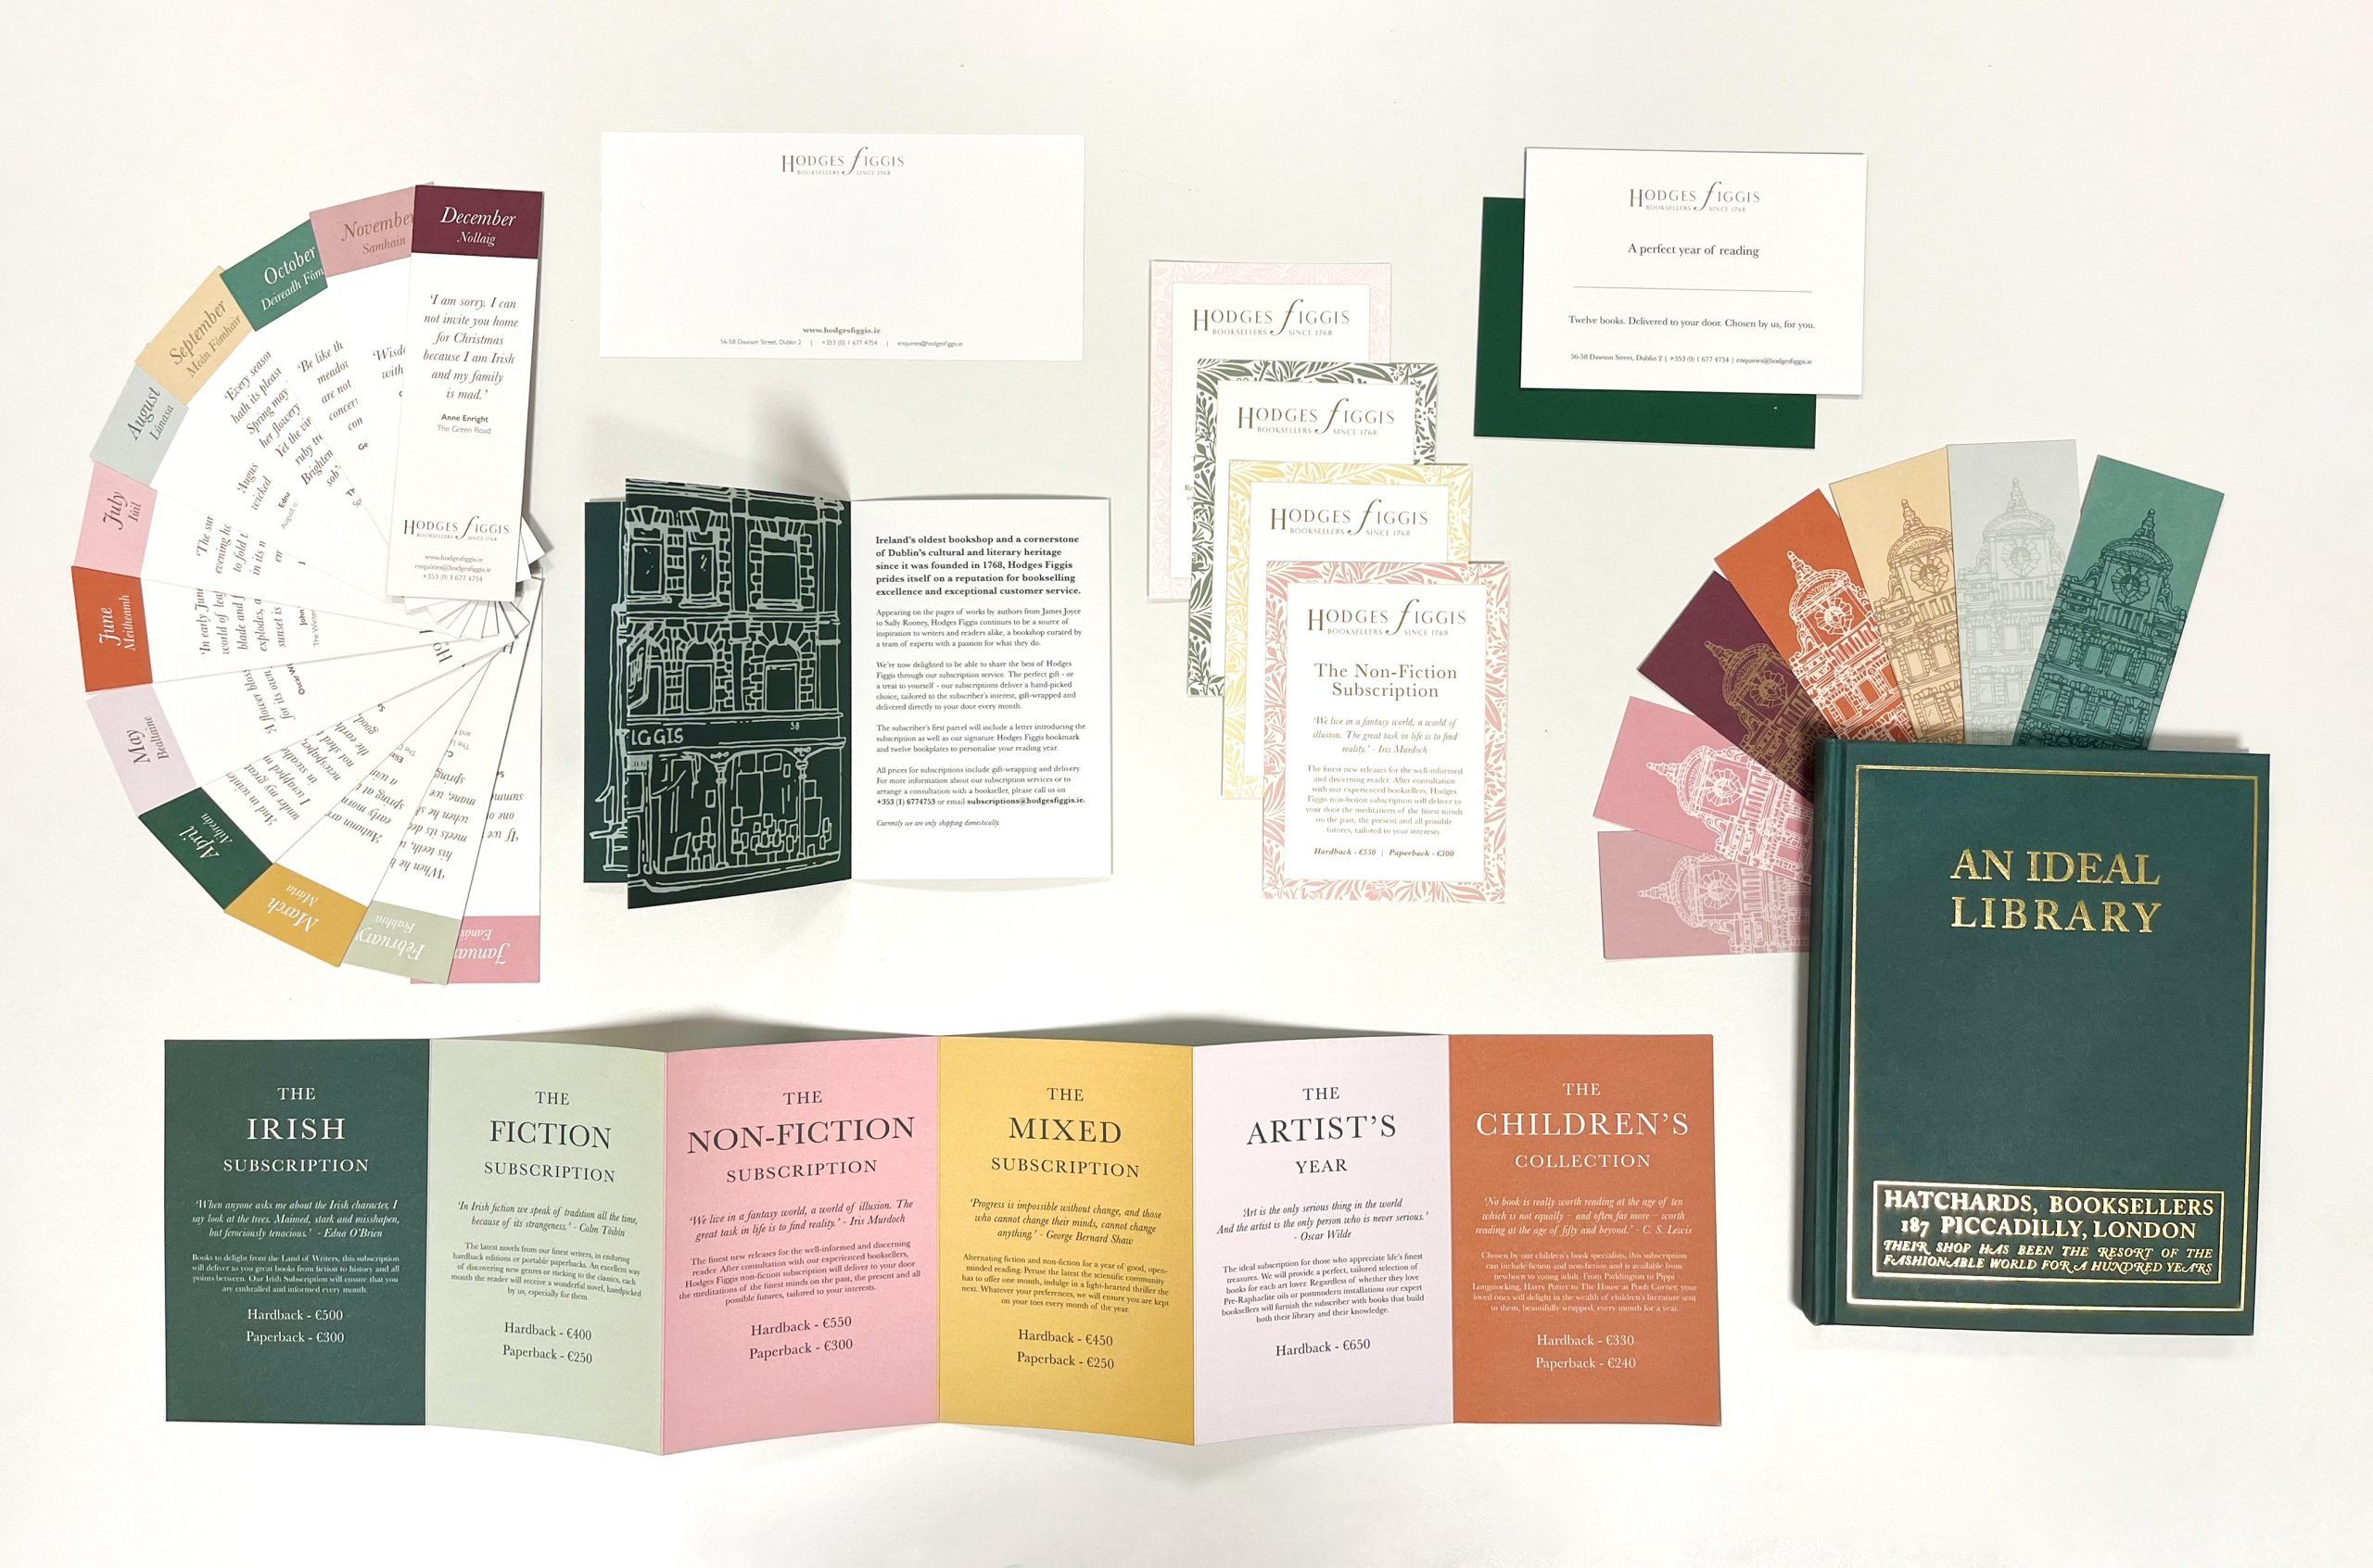
Stationery printing for Hodges Figgis booksellers
When Hodges Figgis bookstore in Dublin approached us with ideas for a print refresh, we jumped at the chance! Focusing on stationery and marketing materials, we got creative printing and designing a suite that was impactful