

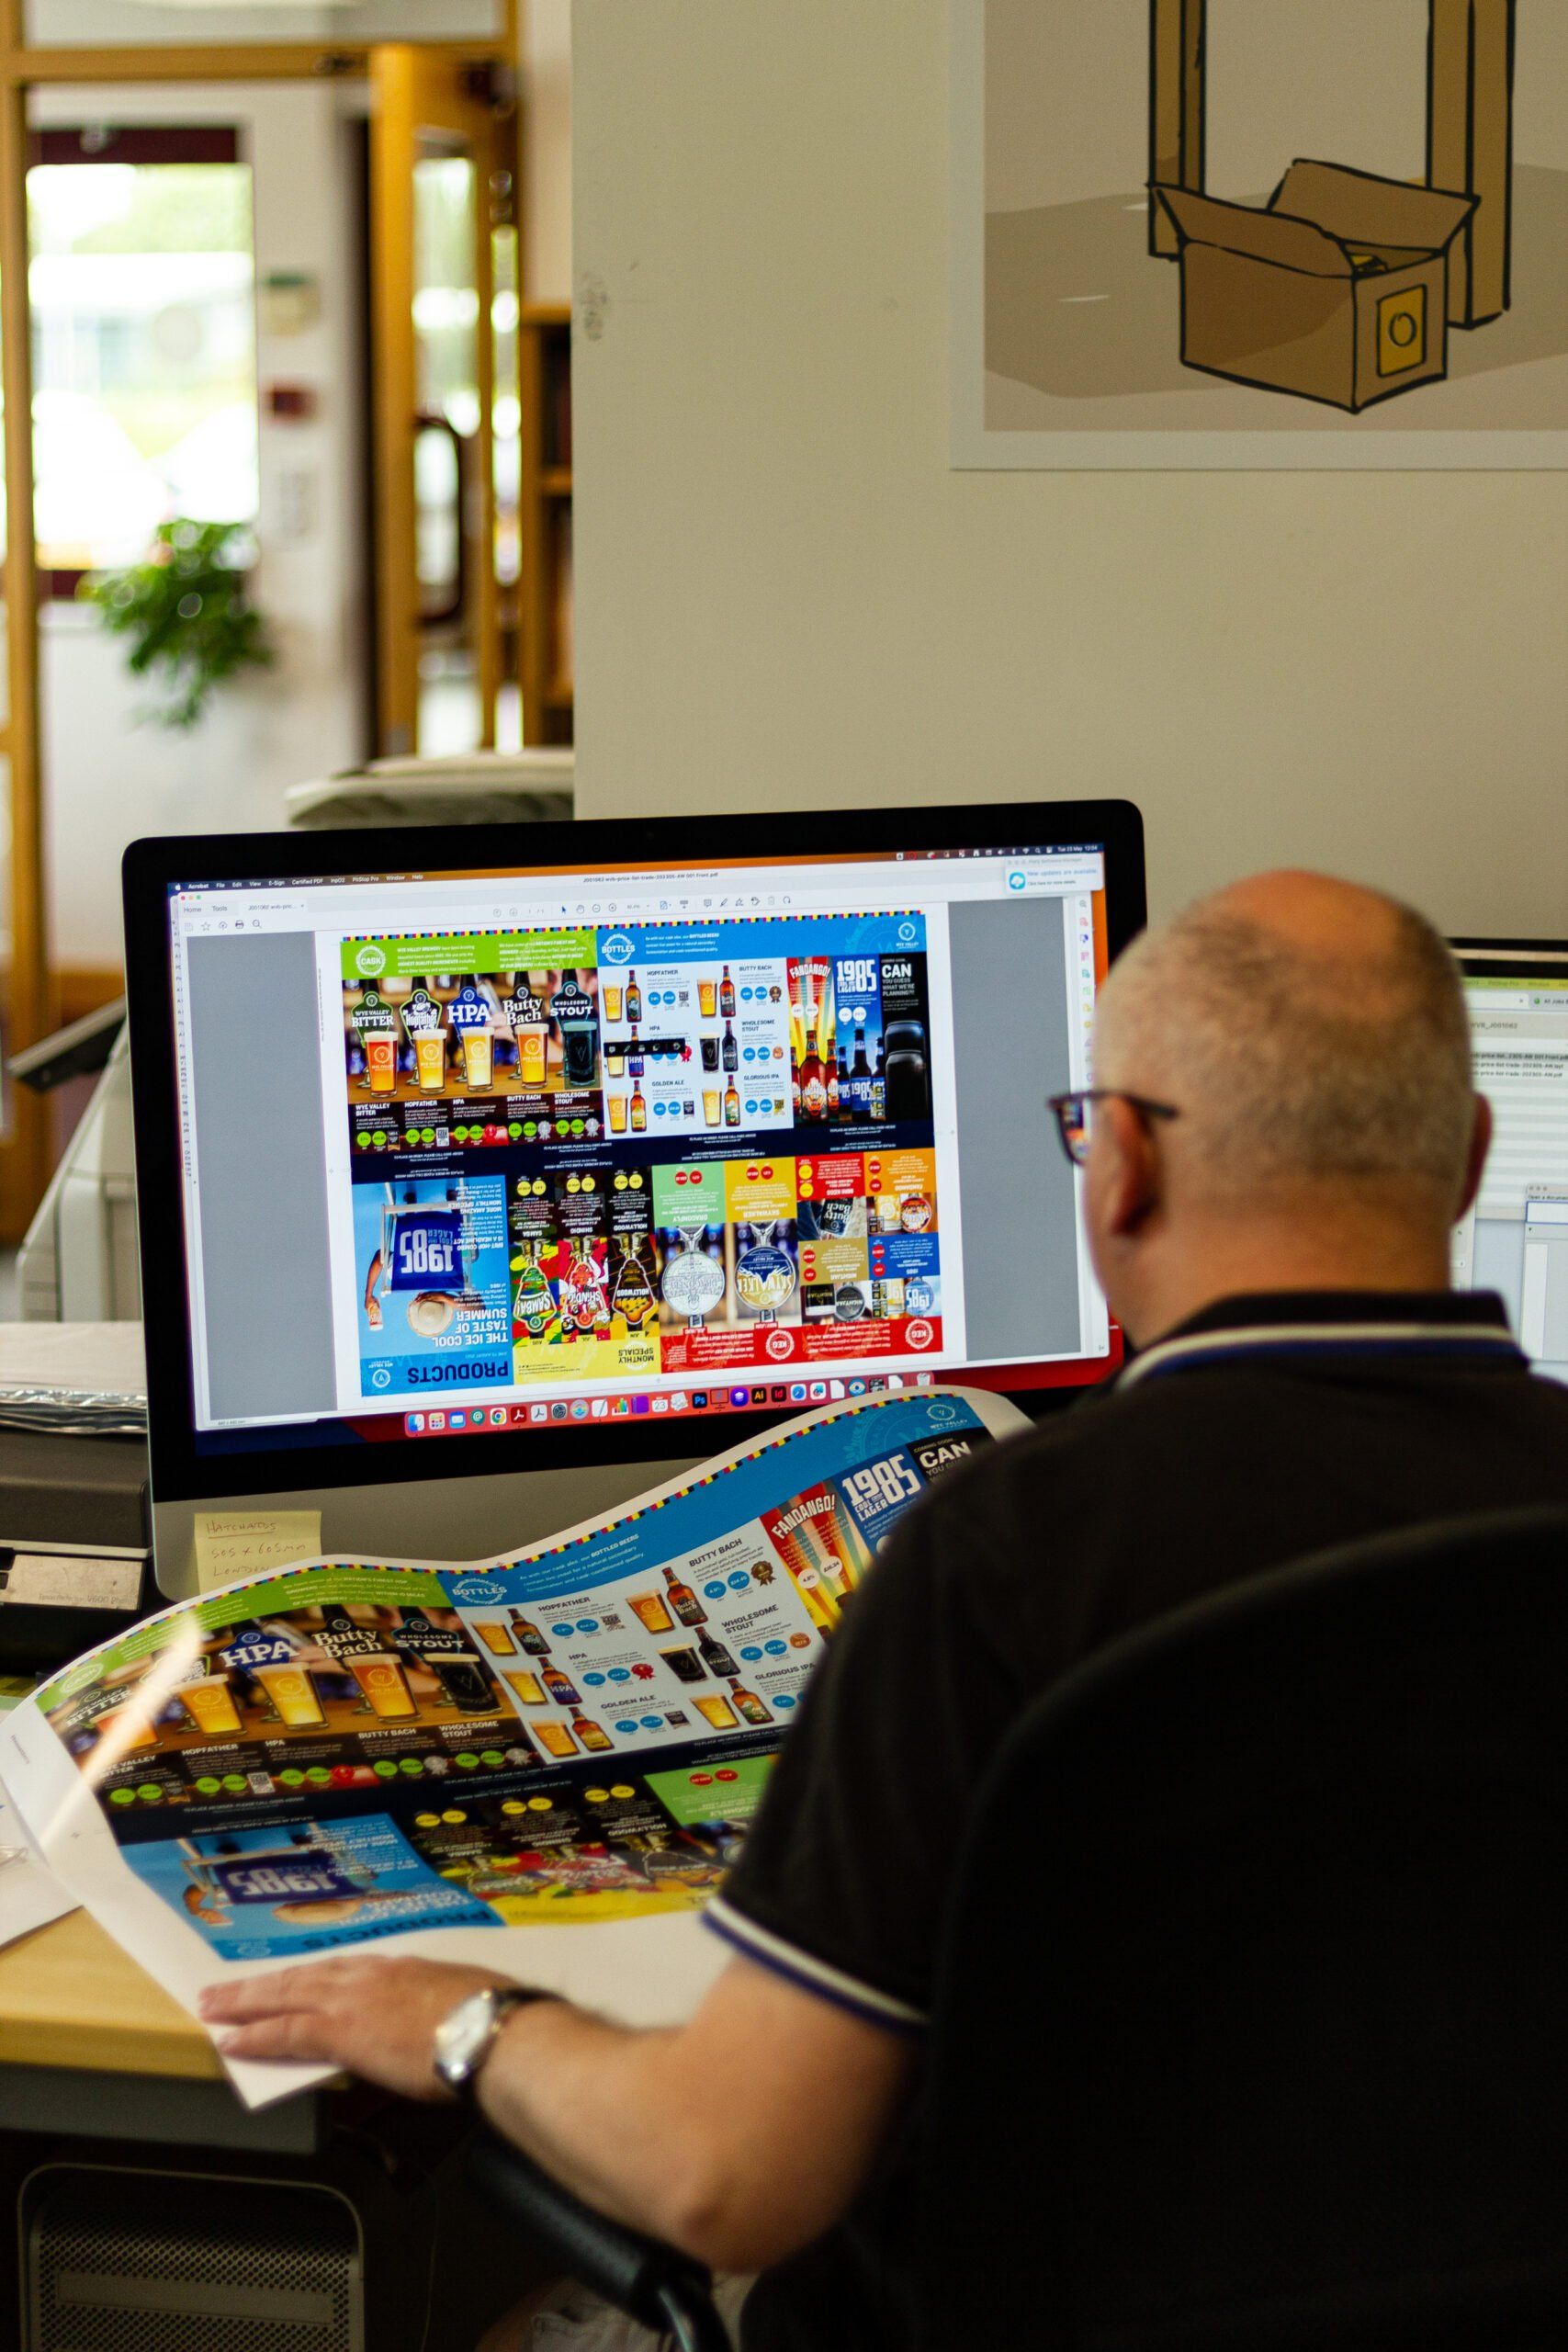
Printing & Artwork Guidelines

In order to ensure your print run goes as smoothly as possible, it is important you take a few simple steps to get your design collateral ready for print.


Before sending us artwork,
here’s a checklist ...

Document is correct size for printing
The document is perfectly sized for printing, ensuring that all content fits neatly on the page without any cut-offs.
Images supplied at 300dpi
If an image is below 300dpi, it won’t print clearly and may appear pixelated or blurry when printed.
Images not enlarged over 150% (if possible)
Scaling an image up lowers its PPI and quality, so try and keep it below 150% so that it retains it’s sharpness.
All images converted to CMYK or Grayscale (if possible)
Convert to CMYK for print to ensure colour accuracy and avoid surprises – RGB may look brighter, but it’s not what you’ll get on paper.
File size of images is a minimum of 1MB
Images should be at least 1MB in file size to ensure they have enough resolution and data for a sharp, high-quality print without blurring or pixelation.
All black text is single colour
Black text should be set to 100% black (K only) rather than using a mix of CMYK values, as this ensures sharper, cleaner printing.
Fonts are supplied or outlined
All fonts used in your artwork should either be supplied with the file or outlined (converted to vector shapes) to ensure text appears exactly as intended.
Other file formats are supplied with PDF to compare
If you’re supplying artwork in formats like Word, Publisher, or design files from Adobe programs, it’s important to also include a PDF version.
Add bleed to images or design elements
If you have images or content which go to the edge of the paper, please add 3mm bleed i.e. take the image 3mm beyond the edge. This provides tolerance for any minor variation in trimming and avoids any unsightly white edges.
Checklist complete, but still stuck?
If you are unsure about any aspect of your artwork, please call us on
01568 612 460 and ask to speak to Gary or Peter, who will help you get your project print-ready.
Export Settings Instructions
All set? The last step is to export your artwork as a print ready PDF. We can supply a pre-set of Orphans PDF settings. Or take a look at our guides below.
If you are at all in doubt, please get in touch, we’ll be pleased to help.
A guide to printing terminology
What are crop marks?
Crop marks are essential guides added to the corners of a print-ready file that show exactly where the final printed piece will be trimmed. These small lines sit just outside the finished size (or “trim area”) and help the printer cut your document to its correct dimensions with precision. Including crop marks ensures that any bleed-extra image or colour that extends beyond the trim area- is correctly trimmed off, leaving a clean, edge-to-edge finish.

Edge of Artwork
Crop marks are essential guides added to the corners of a print-ready file that show exactly where the final printed piece will be trimmed. These small lines sit just outside the finished size (or “trim area”) and help the printer cut your document to its correct dimensions with precision. Including crop marks ensures that any bleed-extra image or colour that extends beyond the trim area- is correctly trimmed off, leaving a clean, edge-to-edge finish.
Bleed
Crop marks are essential guides added to the corners of a print-ready file that show exactly where the final printed piece will be trimmed. These small lines sit just outside the finished size (or “trim area”) and help the printer cut your document to its correct dimensions with precision. Including crop marks ensures that any bleed-extra image or colour that extends beyond the trim area- is correctly trimmed off, leaving a clean, edge-to-edge finish.
Safe Area
Crop marks are essential guides added to the corners of a print-ready file that show exactly where the final printed piece will be trimmed. These small lines sit just outside the finished size (or “trim area”) and help the printer cut your document to its correct dimensions with precision. Including crop marks ensures that any bleed-extra image or colour that extends beyond the trim area- is correctly trimmed off, leaving a clean, edge-to-edge finish.
Printing specifications in more detail

Colour
When it comes to printing, make sure your artwork is set to CMYK – unless you need a specific colour that can’t be mixed using this model. Images from cameras or the internet are usually in RGB, which looks more vivid on screen but needs converting before print (don’t worry, we can do that for you). If you’re after a specific shade, just let us know the PANTONE® colour and we’ll quote accordingly.
Text & Type
Black text should be set to use only black ink—not RGB or four colours—as this keeps it sharp and in perfect registration. Coloured text is fine in four colours, but black (or tints of black) should stay single colour. And don’t forget to either outline your fonts or send them with your file to avoid any missing font issues.
Pictures
Images need to be at least 1MB and 300dpi for print—web images (usually 72dpi) often look blurry. Always make sure you have permission to use any image you supply. And don’t worry, we’ll help convert them to CMYK if needed.
File Types & Settings
We can accept most file types, but a PDF (ideally PDF/X-3:2002 with crop marks) is best to keep your artwork locked in. We’re happy to accept Adobe, Canva and Affinity files too—just send everything packaged with fonts and images included. Word or Publisher files may need extra work to prep for print, so if you’re sending those, please include a PDF as well.
Still need some help?
If you are unsure about any aspect of your artwork, please get in touch with one of our team, who will do their best to assist.